 Kymco Agility 50 - Service manual > Cylinder head installation
Install the dowel pins and a new cylinder head gasket.
Install the cam chain guide.
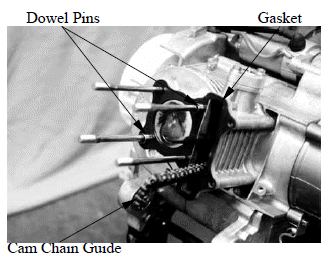
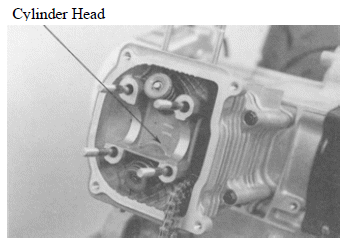
Install the cylinder head.
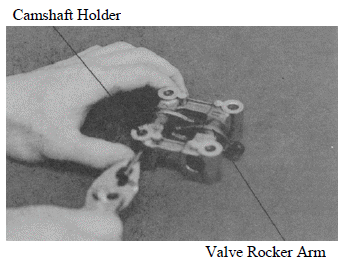
CAMSHAFT HOLDER ASSEMBLY
First assemble the camshaft holder.
Install the intake and exhaust valve rocker arms and rocker arm shafts.
- When installing the rocker arm shaft, align the shaft front end with the bolt hole of the camshaft holder.
CAMSHAFT INSTALLATION
Turn the flywheel so that the "T" mark on the flywheel aligns with the index mark on the crankcase.
Keep the round hole on the camshaft gear facing up and align the punch marks on the camshaft gear with the cylinder head surface (Position the intake and exhaust cam lobes down.) and install the camshaft onto the cylinder head.
Install the cam chain over the camshaft gear.
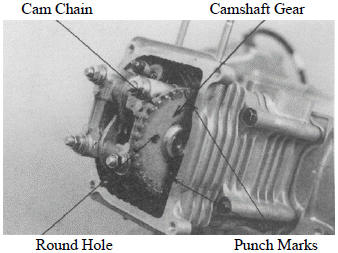
Install the dowel pins.
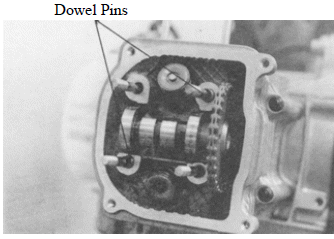
Install the camshaft holder, washers and nuts on the cylinder head.
Tighten the four cylinder head nuts and two bolts.
Torque: Cylinder head nut: 1.8~2.2kgf-m
- Apply engine oil to the threads of the cylinder head nuts.
- Diagonally tighten the cylinder head nuts in 2-3 times.
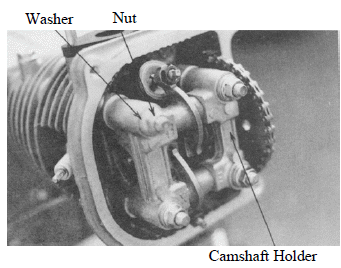
CAM CHAIN TENSIONER INSTALLATION
First install a new cam chain tensioner gasket.
Install the tensioner using the two bolts.
Install the tensioner spring.
Install the O-ring and sealing bolt.
When installing the tensioner, release the lock pawl and push the push rod all the way in.
Torque: 0.45~0.6kgf-m
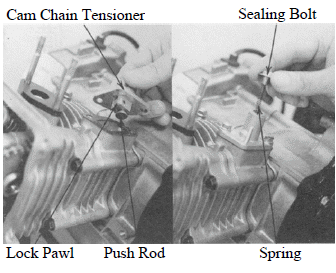
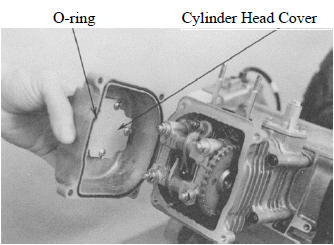
Adjust the valve clearance. Install a new cylinder head cover O-ring and install the cylinder head cover.
Be sure to install the O-ring into the groove properly.
Install and tighten the cylinder head cover bolts.
Torque: 0.8~1.2kgf-m
See also:
 Kymco Agility 50 - Service manual > Cylinder head removal
Remove the camshaft. Remove the carburetor. Remove the exhaust muffler. Remove the carburetor intake manifold.
 Kymco Agility 50 - Service manual > Cylinder/Piston
SERVICE INFORMATION GENERAL INSTRUCTIONS The cylinder and piston can be serviced with the engine installed in the frame. After disassembly, clean the removed parts and dry them with compressed air before inspection.
 BMW R 1250 RT
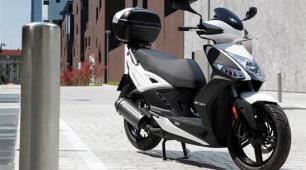 Kymco Agility 50
 Piaggio Liberty 50
 Yamaha aerox NS50
 Aprilia SR50R
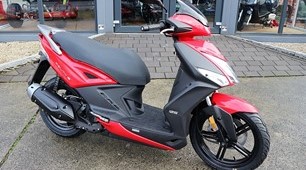 Kymco Agility 50
 Vespa Primavera 50
 Peugeot Speedfight