 Vespa Primavera 50 - Service manual > Oil pump
Removal
- Remove the oil sump and the by-pass.
- Remove the oil shield.
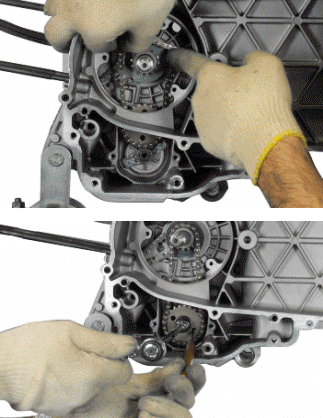
- Preventing rotation, unscrew the water pump command screw and collect the washer.
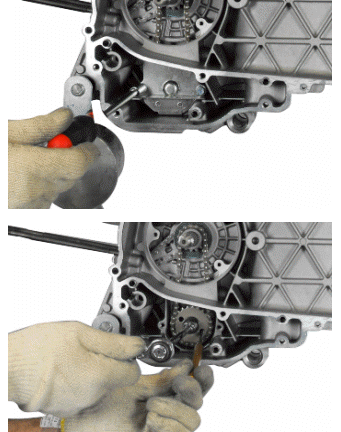
- Remove the oil pump command sprocket complete with chain.
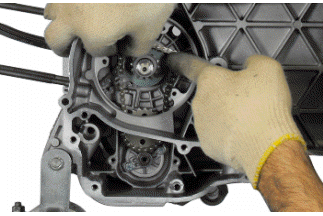
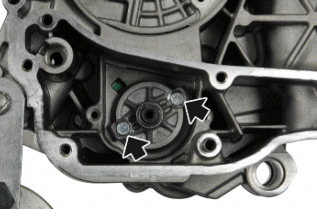
- Unscrew the two screws and remove the oil pump.
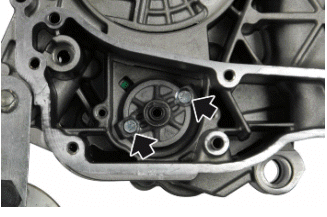
Inspection
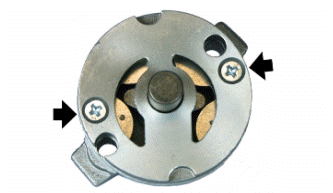
- Remove the two screws and remove the oil pump cover.
- Remove and wash the rotors thoroughly with petrol and compressed air.
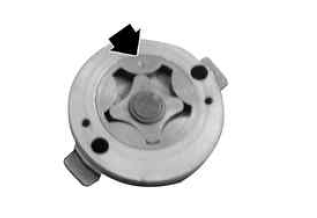
- Reassemble the rotors in the pump body, keeping the two reference marks visible.
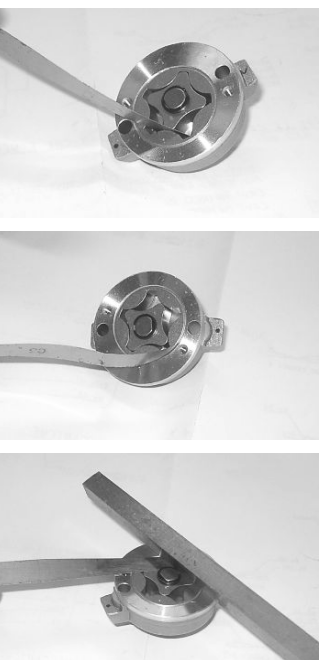
- Using a feeler gauge, check the distance between the rotors in the position shown in the figure.
- Check the distance between the outer rotor and pump body, see figure.
Check the axial clearance of the rotors using a trued bar as shown in the figure.
Characteristic
Axial rotor clearance
Limit values admitted: 0.09 mm
Distance between the outer rotor and the pump body
Admissible limit clearance: 0.20 mm
Distance between the rotors
Admissible limit clearance: 0.12 mm
Refitting
- Follow the steps in reverse order to the removal, tightening the screws to the specified torque.
- Insert the oil pump.
- Insert the control sprocket and the chain.
N.B.
FIT THE BELLEVILLE WASHER SO THAT ITS OUTER RIM TOUCHES THE PULLEY. MAKE SURE THAT THE PUMP TURNS FREELY.
Recommended products
Loctite 243 Medium strength threadlock
Medium Loctite 243 threadlock
Locking torques (N*m)
Screws fixing oil pump to crankcase 5 - 6
- Preventing rotation, tighten the water pump command screw complete with washer.
Removing the oil sump
- Remove the oil filler plug, the transmission cover, the complete drive pulley assembly with belt and the sprocket wheel, as described in the Transmission chapter.
- Drain the oil as described above.
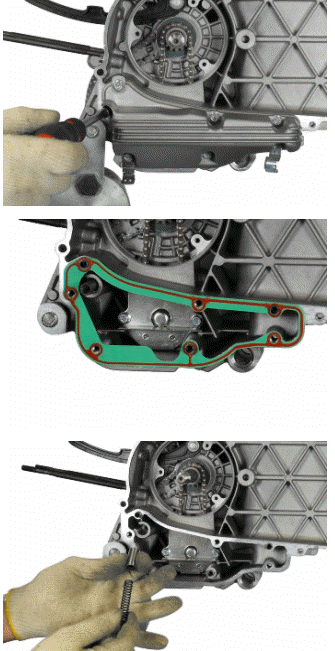
- Remove the seven screws indicated in the figure with the two rear brake transmission retainer brackets.
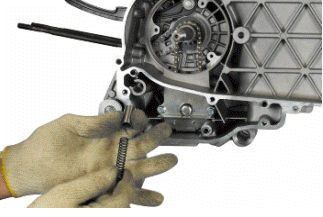
- Remove the washers, the spring and the by-pass piston.
Inspecting the by-pass valve
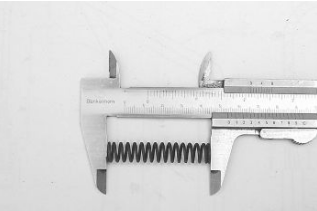
- Check the unloaded spring length.
- Check that the small piston is not scored.
- Ensure that it slides freely on the crankcase and that it guarantees a good seal.
- If not, eliminate any impurities or replace defective parts.
Characteristic
Standard length
52.4 mm
Piston standard diameter
12.861 + 12.843 mm
Refitting the oil sump
- Refit the by-pass piston in its housing.
- Insert the pressure-regulating spring.
- Fit a new sump seal.
- Refit the sump, taking care to locate the spring in the appropriate recess machined into the inside of the sump.
- Refit the rear brake transmission mounting brackets and the screws in the reverse order from which they were removed.
- Tighten the screws to the prescribed torque.
- Refit the driving pulley assembly, the drive belt, the sprocket wheel and the transmission cover, as described in the "Transmission" chapter.
- When testing the lubrication system, refer to the "Crankcase and Crankshaft" chapter, regarding lubrication of the connecting rod assembly.
Locking torques (N*m)
Locking torque 11 - 13
See also:
 Vespa Primavera 50 - Service manual > Lubrication
Conceptual diagrams The lobe pump "F" sucks the oil from the sump, through the mesh pre-filter "C", it pushes it into the cartridge filter "E" where there is also a safety valve "D".
 Vespa Primavera 50 - Service manual > Injection
Injection system This vehicle is fitted with an integrated injection and ignition system. Injection is indirect in the manifold through an electro-injector.
 BMW R 1250 RT
 Kymco Agility 50
 Piaggio Liberty 50
 Yamaha aerox NS50
 Aprilia SR50R
 Kymco Agility 50
 Vespa Primavera 50
 Peugeot Speedfight