 Piaggio Liberty 50 - Owner's Manual > Rear drum brake
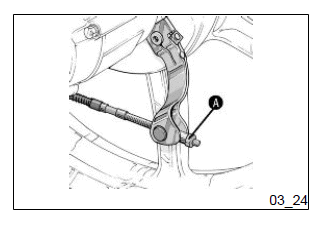
Actuate on the set screw "A" indicated on the figure bearing in mind that the wheel must rotate freely when the control lever is in neutral.
CAUTION
BRAKING SHOULD BEGIN AFTER ABOUT 1/3 OF THE BRAKE LEVER STROKE.
Puncture
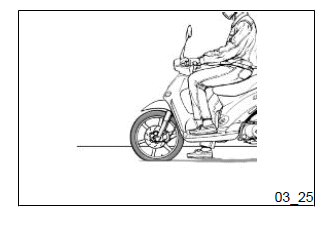
The vehicle is equipped with Tubeless tyres (without inner tube). In the event of a puncture, Tubeless tyres - unlike tyres with inner tubes - go flat very slowly, resulting in a greater steering safety. In the event of a puncture, an emergency repair can be carried out using an "inflate and repair" spray can. For a final repair, take your vehicle to an Authorised Service Centre or Dealer. The replacement of a tyre involves removing the wheel in question. Take your vehicle to an Authorised Service Centre or Dealer for these operations.
CAUTION
TO USE THE "INFLATE AND REPAIR" SPRAY CAN PROPERLY, FOLLOW THE INSTRUCTIONS ON THE PACKAGING.
WARNING
THE WHEELS FITTED WITH TYRES SHOULD ALWAYS BE BALANCED. RIDING THE VEHICLE WITH VERY LOW TYRE PRESSURE OR WITH INCORRECTLY BALANCED TYRES CAN LEAD TO DANGEROUS STEERING VIBRATIONS.
delveicolo
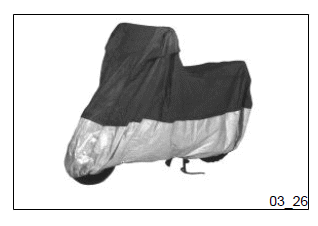
We recommend carrying out the following operations:
1. General cleaning of the vehicle.
2. With the engine off and the piston at the bottom dead centre position, remove the spark plug, and pour 1÷ 2 cm³ of recommended oil through its opening. Press the engine start pedal 3 or 4 times letting the engine perform a few revolutions slowly, then replace the spark plug.
3. Drain off all the vehicle fuel; spread antirust grease on the unpainted metal parts; keep the wheels off the ground, by resting the chassis on two wooden wedges.
4. For the battery, follow the procedures described in the "Battery" section.
5. Drain the petrol from the carburettor float chamber through the bleed cap.
Recommended products
eni i-Ride PG 5W-40
Synthetic based lubricant for high-performance four-stroke engines.
JASO MA, MA2 - API SL - ACEA A3
Cleaning the vehicle
Use a low pressure jet of water to soften the caked dirt and mud deposited on the painted surfaces. Once softened, sponge off mud and dirt using a car body sponge soaked in a car body shampoo and water solution (2-4% of car shampoo in water).
Then rinse with abundant water, and dry with a shammy cloth. For the engine exterior, use petrol, a brush and clean cloths. Petrol can damage paintwork. Remember that any polishing with silicone wax must always be preceded by washing.
WARNING
To avoid the appearance of oxidations, wash the vehicle every time it is used in certain areas or in special conditions of:
- Environmental / seasonal conditions: use of salt, de-icer chemical products on the road in winter.
- Air pollution: city and/or industrial areas.
- Salinity and humidity of the atmosphere: marine areas, hot and wet weather.
WARNING
- Prevent deposits from remaining on the bodywork, industrial and pollutant residual dust, tar spots, dead insects, bird droppings, etc.
- Do not park the vehicle under the trees. In some seasons, in fact, residues, resins, fruits or leaves may fall from the trees, containing chemicals that are harmful to the paintwork.
CAUTION
DETERGENTS POLLUTE WATER. THEREFORE THE VEHICLE SHOULD BE WASHED IN AN AREA EQUIPPED FOR THE COLLECTION AND PURIFICATION OF THE LIQUIDS USED.
WARNING
NEVER WASH THE VEHICLE UNDER DIRECT SUNLIGHT, ESPECIALLY IN SUMMER WHEN THE BODYWORK IS STILL HOT, AS THE CAR SHAMPOO MAY DRY BEFORE BEING RINSED OFF, AND COULD DAMAGE THE PAINTWORK. NEVER USE RAGS SOAKED IN PETROL OR DIESEL OIL TO CLEAN THE PAINTED OR PLASTIC SURFACES, IN ORDER TO PREVENT THEM LOSING THEIR SHINE AND MECHANICAL CHARACTERISTICS.
WARNING
WHEN WASHING THE ENGINE WITH A HIGH-PRESSURE WATER JET:
- ONLY USE FAN SPRAY JETS.
- DO NOT PLACE THE NOZZLE CLOSER THAN 60 CM.
- DO NOT USE WATER AT TEMPERATURES OVER 40º C.
- DO NOT DIRECT THE JETS DIRECTLY TO CARBURETTOR, WIRINGS, SLOT DIFFUSERS ON THE TRANSMISSION COVER AND SCROLL COVER.
START-UP PROBLEMS

IGNITION IRREGULARITY
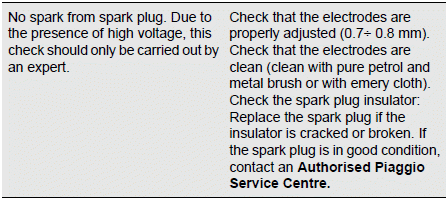
POOR COMPRESSION

HIGH CONSUMPTION AND LOW PERFORMANCE

INSUFFICIENT BRAKING

INEFFICIENT SUSPENSION

AUTOMATIC TRANSMISSION PROBLEMS

INCREASED EXHAUST NOISE

See also:
 Piaggio Liberty 50 - Owner's Manual > Front direction indicators
Use a Phillips screwdriver on the screw "C" shown in the figure. The bulb has a bayonet fitting, to remove it press gently, and turn it anticlockwise about 30º and then withdraw it. To refit follow the same steps but in reverse order.
 Piaggio Liberty 50 - Owner's Manual > Technical data
SPECIFICATIONS DATA
 BMW R 1250 RT
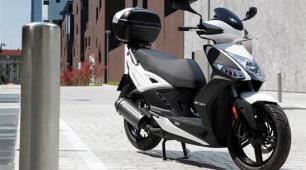 Kymco Agility 50
 Piaggio Liberty 50
 Yamaha aerox NS50
 Aprilia SR50R
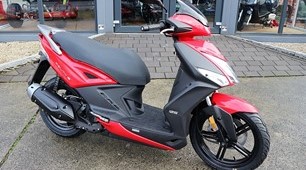 Kymco Agility 50
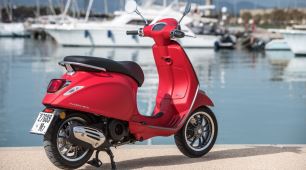 Vespa Primavera 50
 Peugeot Speedfight